Somewhere in most homes there's a box — an album, a shoebox, a drawer — full of photographs slowly fading. Prints don't last forever: colors shift, paper yellows, and a single spill or house move can wipe out decades in a moment. Digitizing them is how you make them safe, shareable, and permanent.
Here's how to digitize old photos, whichever route suits your time, budget, and the size of that box.
Method 1: Scan with your phone (free & fast)
The quickest way to start, and free. A dedicated photo-scanning app (like Google PhotoScan or Photomyne) uses your phone camera to capture a print, removes glare, and auto-crops it.
- Best for: getting started today, smaller batches, sharing quickly.
- Quality: good for most snapshots; not archival-grade.
- Tip: shoot in soft, even light and avoid direct overhead glare.
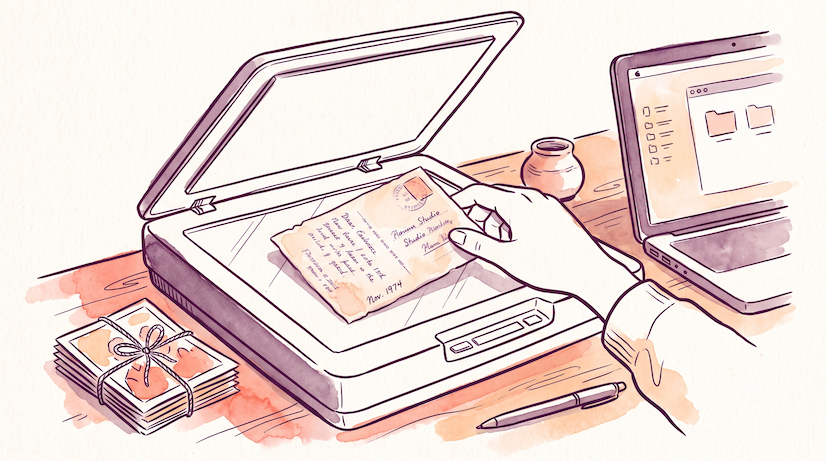
Method 2: Use a scanner (best quality)
A flatbed or dedicated photo scanner gives you the highest quality and is worth it for treasured prints.
- Best for: important photos you want at full resolution.
- Quality: scan at 600 DPI for standard prints (higher for small or precious ones).
- Tip: flatbeds handle delicate or odd-sized prints gently; some scanners batch-feed stacks to save time.
Method 3: Use a scanning service
If you have hundreds or thousands of photos, a mail-in or local service does the heavy lifting.
- Best for: large collections, slides, and negatives you can't easily scan yourself.
- Cost: typically anywhere from a few cents to around a dollar per photo depending on volume, resolution, and turnaround — bulk packages bring the per-photo price right down.
- Tip: check whether they return your originals and what resolution and file format you'll receive.
Organize & back up your scans
Digitizing is only half the job — protect the files:
- Store them in at least two places (e.g. cloud + computer).
- Use clear folders and filenames (by year, event, or family branch).
- Keep the original full-resolution files, not just compressed copies.
The step everyone skips: capture the story
Here's the hard truth about a digitized photo: it's safe now, but it's still silent. In a generation, no one will know who's in it, where it was taken, or why it mattered. The faces survive; the stories don't.
This is where MemoryJam's Photo Narrator comes in. Once a photo is digital, you can add your voice to it — point at faces, tell the story, share the memory — and it becomes a short narrated video with the names and details preserved forever. It takes seconds, and the first few photos are free with no sign-up.
Don't just save the picture. Save what it means.
Bring an old photo to life with Photo Narrator → — add the voice and story before they're lost.
Frequently asked questions
What's the best way to digitize old photos? For most people, a phone scanning app is the fastest free option; a flatbed scanner at 600 DPI gives the best quality; and a scanning service is best for very large collections, slides, or negatives.
How much does it cost to digitize old photos? At home it's essentially free (phone app) or the one-off cost of a scanner. Services typically charge from a few cents to about a dollar per photo, with bulk packages reducing the per-photo cost significantly.
What resolution should I scan old photos at? 600 DPI is a good standard for regular prints. Go higher (1200 DPI+) for small prints, slides, or negatives, or anything especially precious.
How do I keep digitized photos safe? Back them up in at least two places, keep the original full-resolution files, and label them clearly. For the stories behind them, narrate them with a tool like Photo Narrator.
Not sure a collection is worth keeping? See What to Do With Old Family Photos No One Wants.